
How to Install a Window AC Unit
There are a few options available if you’re looking to add to your home or building’s cooling capabilities, and one such consideration is the addition of a window AC unit. Should you be going this route for your cooling needs? If so, how do you install a window air conditioning unit?
At Thompson’s Comfort Connection, we’re here to offer a wide range of AC repair, air conditioning installation and related services to clients around Sandy, Midvale, Draper, Riverton, Cottonwood Heights and nearby areas. Is a window AC unit necessary for your cooling needs? If so, how can it be installed? Here are some basics.
Do You Really Need a Window AC Unit?
Before we get into the specifics of installation, it’s important to determine if a window AC unit is really necessary for your cooling needs. Some factors to consider include:
- The size of your space: Window AC units are best suited for small spaces, as they are not powerful enough to cool down large areas.
- Your budget: If you’re on a tight budget and cannot afford a central air conditioning system, a window AC unit may be a more cost-effective option.
- Building restrictions: If you’re unable to make major structural changes to your building or home, a window AC unit can be a great alternative to central air conditioning.
However, there are many cases where a window AC unit may not be the best option. These include:
- Large spaces: As mentioned earlier, window AC units are not powerful enough to cool down large areas. If you have a big space that needs cooling, it’s better to invest in a central air conditioning system.
- Aesthetics: Window AC units can take away from the look of your building or home, as they are not the most visually appealing appliances.
- Noise: Window AC units can be quite loud, which may be a problem for some individuals.
- Using too much power: If your home already has a high energy consumption, adding a window AC unit may increase your energy bills significantly.
Ultimately, the decision to get a window AC unit should be based on your specific needs and circumstances. If you do decide to move forward here, our next few sections will go over the basic steps for installing a window AC unit.
Prepping the Window and Unit
The first step in installing a window AC unit is prepping your window and the unit itself. Some things to keep in mind during this process include:
- Measuring the window: Make sure you know the exact measurements of your window, as this will determine the size of the AC unit you can fit.
- Clearing debris and cleaning: Before placing the AC unit on your window, clear any debris and clean the area to ensure a secure fit.
- Checking for obstructions: Make sure there are no obstructions, such as screens or storm windows, that may prevent the installation of the AC unit.
Placing and Securing the Unit
Once you’ve prepped your window and unit, it’s time to actually place and secure the unit in the window. Here are some steps to follow:
- Lift the unit into the window: With someone helping you from inside, carefully lift the AC unit and place it on the windowsill.
- Close the window onto the top of the unit: Once you’ve positioned the AC unit on the sill, pull down the top window sash onto the unit to secure it in place.
- Extend the side panels: Most window AC units come with extendable panels on either side. Use these to fill any gaps between the unit and the sides of your window.
- Secure the unit with brackets: Some units may also come with brackets for extra stability. Make sure to secure the brackets onto the unit and window frame for added support.
Sealing and Insulating
Once your unit is securely in place, it’s important to properly seal and insulate any gaps around the edges. This will help keep cool air from escaping and hot air from entering. Here are some things to keep in mind:
- Use foam weather stripping: Apply foam weather stripping around the edges of the unit to fill any gaps.
- Apply window sealant: Seal any remaining gaps with a waterproof and weather-resistant sealant.
- Insulate the sides with foam panels: To further insulate, you can also use foam panels on either side of the unit, securing them in place with tape or velcro.
Final Steps
After completing these steps, there are a few final things to do to ensure your window AC unit is installed properly:
- Plug in the unit: Make sure the AC unit is plugged in and functioning correctly.
- Test it out: Turn on the unit and adjust the temperature to make sure it’s cooling your space effectively.
- Level the unit: If needed, use a level to ensure your unit is sitting evenly in the window.
- Follow manufacturer instructions: Always refer to the manufacturer’s instructions for specific guidelines and safety precautions.
Installing a window AC unit may be a simple process, but it’s important to do it correctly to ensure proper functioning and efficiency. If you’re unsure about any steps or want professional assistance, feel free to reach out to us at Thompson’s Comfort Connection for expert advice and assistance. We’re here to help you stay cool and comfortable during the hot summer months, whether you’re in Sandy, Midvale, Draper, Riverton, Cottonwood Heights or any nearby area.


Related Articles
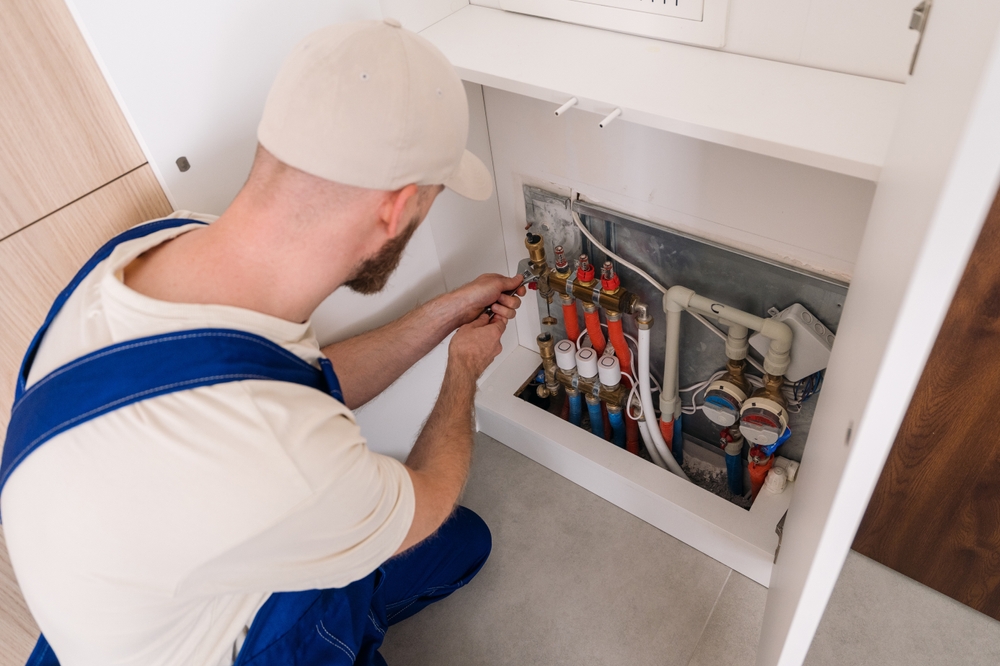
A Homeowner’s Guide to Boiler Ventilation and Safe Exhaust
Maintaining a high-efficiency boiler system requires more than just checking…
[ READ MORE ]
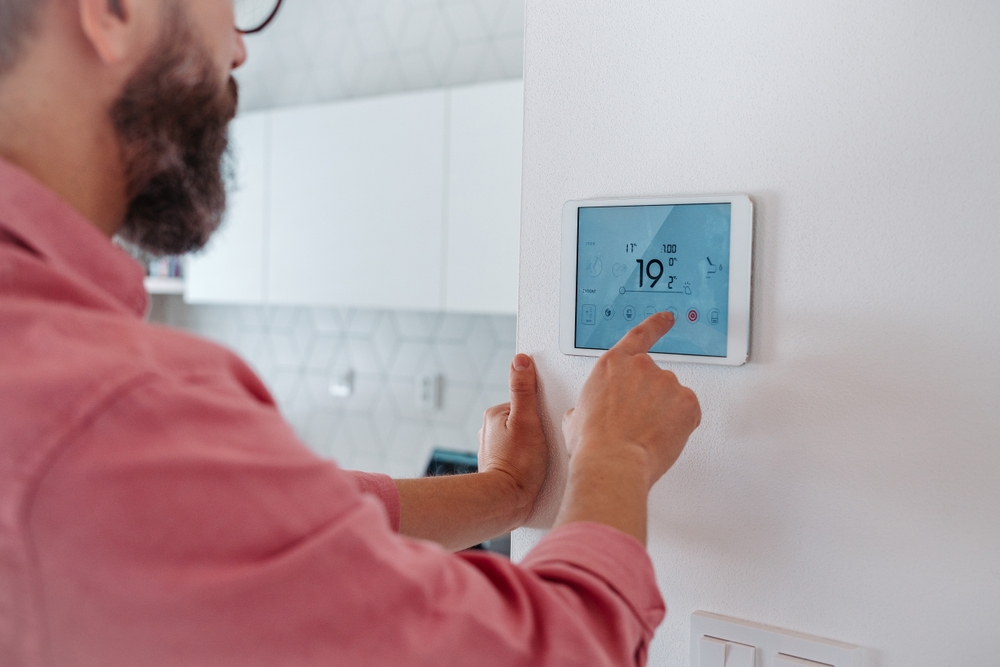
How to Optimize Thermostat Settings for Savings & Longevity
Managing your home environment is about more than just finding…
[ READ MORE ]
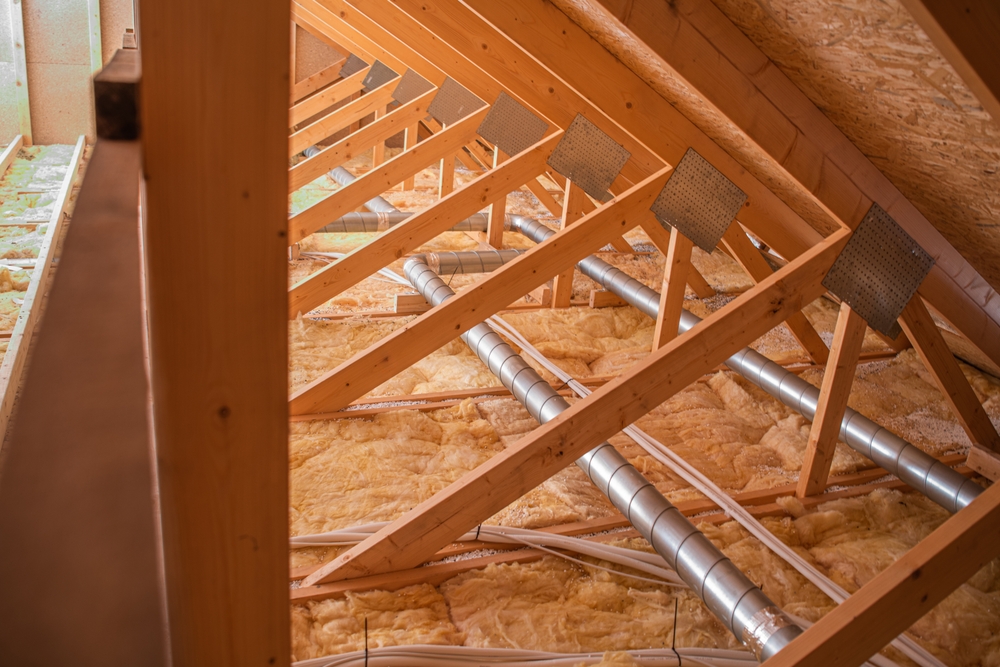
How Proper Insulation Enhances Heating System Performance
Maintaining a cozy home during a Utah winter requires more…
[ READ MORE ]